Growing Daylilies in Pots
Growing Daylilies in Pots
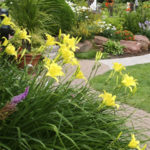
 Here in Australia people want to use daylilies to brighten up their backyards and their homes. The best way to do this is by growing daylilies in pots. For pot grown daylilies you can easily move the pot plants in any location in your garden that you would like but you have to make sure that you will take care of them properly. First of all, you need to know and understand what the daylilies are and how they should be taken care of properly.
Knowing the Daylilies
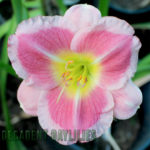
The daylilies are also known as plants under the Hemerocallis species. They are observed to produce large flowers usually during the times of Autumn and Summer. The daylily plant can produce several types of flowers which are seen in different colours. The plant can grow from a minimum of 8 inches up to 50 to even 60 inches. The height actually depends on the variety of the plant. Tall daylilies would generally need support so that they can grow properly. Daylilies can be potted up any time of the year, the preferred time is in the cooler months from April to November in Australia. If you want to grow daylilies in pots it would be best if you could choose the dwarf short daylily variety. You have to remember that you should take care in growing daylilies in pots properly, therefore there are several considerations that you need to look into. Here are some of the most important reminders in taking care of the daylilies in pots.
Preparation of the Materials
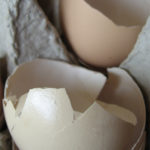
First of all, you have to make sure that you will prepare all the needed materials first. You should have a perfect size pot for your daylilies which should be a large plastic pot or your desired size container it should be at least 18 to 20 inches deep this will allow plenty of room for the long daylily roots to grow. You have to make sure that you clean the pot properly first before you use it to remove the unnecessary debris that might be inside the pot. After ensuring that it is already clean, you should fill the pot with 3 parts of what is known as the potting soil and 1 part of the natural homemade quality compost add to the pot at planting time, which would facilitate the effective growth of the daylilies. You have to make sure that the potting soil is of the best premium quality possible. It is no good just using straight potting mix, potting mixes become repellent or can compact, for example it would be just like watering talcum powder after a while or the potting mix will just compact then the water will not drain quickly through the potting mix soil and will not be free draining, if this happens the soil has to be addressed by replacing the soil in the pot. After that, you can use about 3 inches of mulch over the surface of the soil so that you can properly maintain the moisture and temperature that would promote the growth of daylilies in the pot. The best thing about planting and growing daylilies in pots is that the potted daylilies have no competition with other plants, they are in their own confined environment in your garden.
Planting a Bareroot Daylily in a Pot
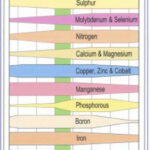
After preparing the pot and soil, you can start placing the pot in an area where it can have an adequate source of sunlight. You can start adding in the daylilies in the pot. You have to make sure that while you are adding daylilies to the pot you don’t plant your daylilies too deep.You can plant daylilies in a pot like this – Make a mound in the centre of the pot, that the daylily crown can sit on, spreading the daylily roots evenly around the mound then back fill around the daylily roots with quality soil. It is very important to cover the crown, this is where the foliage and the roots meet. Cover the crown and roots by one inch of soil only. Tamp the soil this will give good contact with the soil and the daylily roots. Water very well to settle the soil around the roots. It is good to mulch your daylilies, but do keep the mulch away from the daylily stem otherwise the wet mulch can cause daylily rot. Later on you can place fertiliser in the pot once the daylily has a new fan of leaves, fertilising too early can burn the new growing roots. You can use water soluble type of fertiliser. You can specifically use a well balanced fertilser 5-10-5 or the 6-12-12. The 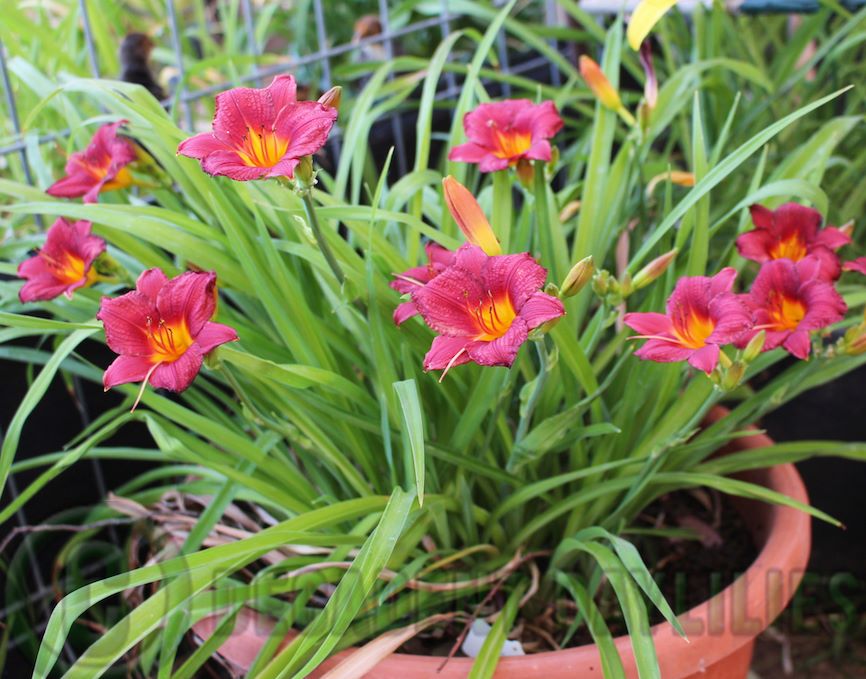 numbers correspond to the percentage of nitrogen, phosphorus and of course potassium in the said fertiliser. Container grown daylilies can be fed with a well balanced NPK fertiliser once every two months and this is how you can plant daylilies in pots.
Potted Daylily Care – Monitor your daylilies well, to keep your daylilies moist but not wet while growing daylilies in pots. To do this 2 inches of water is usually needed twice a week when growing daylilies in a pot, this is a guide and will depend on your climate and weather.
These are the best considerations and reminders that you should take note if you want to know successfully how to grow daylilies in pots.