How to Sterilise Soil
Sterilising Soil Before Planting Seeds and Plants in the Garden
 Soil is the most prominently used growing medium by home gardeners. The success in gardening to a great extent will depend on the type of soil used. Soil containing weed seeds and pathogenic organisms like fungi, bacteria, viruses, nematodes and mycoplasmas can affect the germination of seeds and growth of the saplings. That being so, sterilising soil for the garden or potting soil is necessary before planting to make sure that the plants will have a healthy growth. Though sterile potting mixes are easily available from garden stores, you can save money by knowing “how to sterilise soil” and practising it.
Soil Sterilisation Methods
There are different methods in practice to sterilise soil at home. This includes:
1. Steam Sterilisation
You can steam the potting soil either using a pressure cooker or without using it. If you are opting for pressure cooker method, you need to have several inches of water inside the cooker, and you should place the pans with soil not more than 4 inches over the rack placed inside the cooker. Make sure that you cover the pans with foil. You can place the lid of the pressure cooker but should leave the steam valve open. When the steam starts to escape through the valve close the valve, and heat for 15 to 30 minutes with a heat of 10 pounds.
If you are not using the pressure cooker for steaming, take a sterilising container and fill about 1 inch of it with water. Place the soil filled pans which are covered with foil on the rack. Close the lid of the steriliser and allow the water to boil. Now keep the lid open just enough to remove the excess pressure. When steam starts to come out boil it for another 30 minutes. After 30 minutes, turn off the heat and allow the soil to cool. Keep the foil cover on till the soil is ready to use in both methods.
2. Oven Sterilisation
You need to take soil in oven-safe containers. The depth of the soil should not be more than 4 inches in the container. Cover the soil in the pan using aluminium foil. Through the foil insert an accurate stainless steel candy/deep fryer or meat thermometer probe into the middle of the soil. Bake the soil at a temperature of 180-200F or 82 to 93 C or when the soil temperature reaches 180 F. Keep the soil at this constant temperature for about 30 minutes. Heating beyond 200F can produce toxic substances in the soil. Remove from oven after 30 minutes and allow it to cool with the foil on.
3. Microwave Sterilisation
For this method, use microwave safe containers with lids to hold the soil. Do not use foil, to cover the container. The lid of the containers should have ventilation holes. For every couple of pounds of soil taken in the container, you need to heat it for at least 90 seconds on full power. Remove from the microwave and allow the soil to cool. Cover the vent holes with tape while cooling the soil.
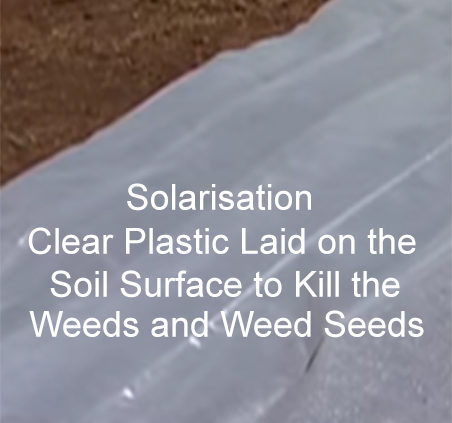
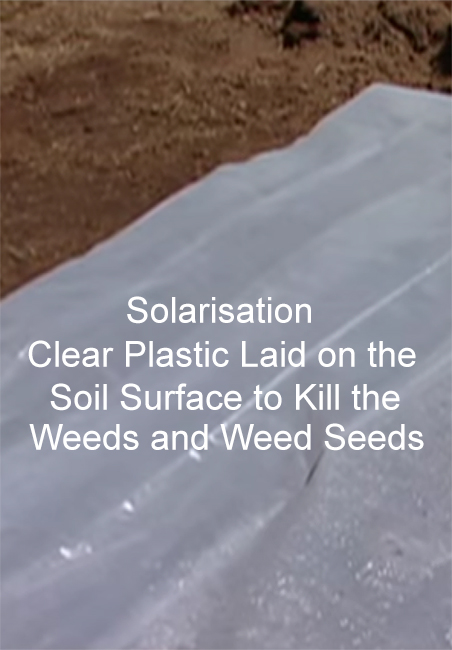
4. Solarisation
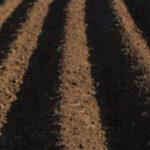
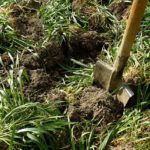
You can also opt for soil solarisation to sterilise the garden soil during summer. Loosen the garden soil and wet it and cover it with polyethylene sheets. Cover the edges of the sheet with a layer of soil to retain heat and moisture and leave it for several weeks to expose it to solar radiation and to kill the undesirable organisms.
By laying black plastic down over the garden beds, that you are not using and resting over the winter months will smother and stop the winter and spring weed seeds from sprouting in your vegetable garden and flower beds.