Bromeliads Care Instructions
Bromeliads Care How To Grow Bromeliads
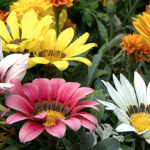
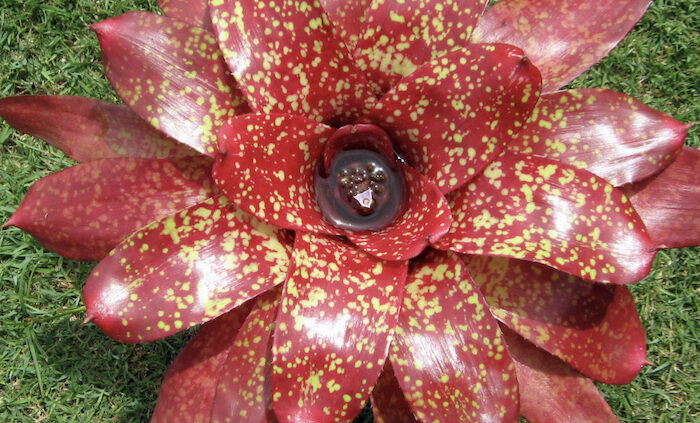
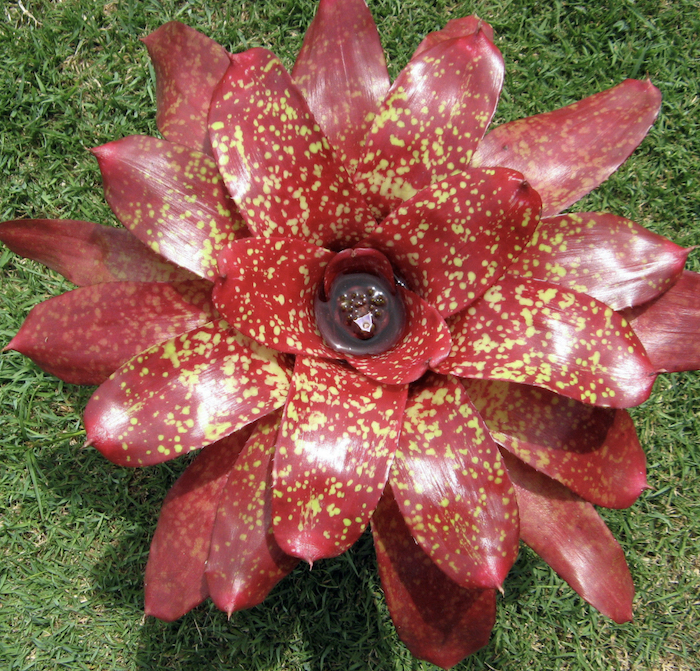 Bromeliads add an attraction and beauty to your garden and home. Growing the Bromeliads is not a tough task and many people grow them as a houseplant. They have different textures and colours to increase the look of any garden. They are not seasonal plants. The Bromeliad plant will grow all around the year. Their leaves are quite stiff and are grouped together in the shape of a rosette.
How to grow in the ground?
Dig a hole of about a few inches on the ground where you are looking to plant Bromeliads. Add organic matter like compost or peat moss in the soil and add sand to it to improve drainage. Bromeliads will thrive in well drained soils. You should place the plant in the soil and cover the base of the plant with soil. It is ideal to plant the Bromeliads in areas where there is partial shade or in indirect bright lights away from frosts. You should water the Bromeliads after planting it and allow the top one or two inches of the soil to completely dry out before watering it again. You sometimes might need to wait for one or two weeks to water it again.
How to pot Bromeliads?
One thing you need to remember is that Bromeliads do not require deep pots and they do not need thick potting soils. They will thrive in shallow pots and will grow better in soil mediums that are low like orchid mix, sphagnum moss and other organic constituents. They need to be grown in shaded areas. You should make sure that the potting mix for Bromeliads is free draining one. You can make a homemade potting mix by combining organic potting mix and the standard potting mix in the ratio 1:1. The plant must be placed in the potting soil in such a way that the central cup is vertical. Ensure that there is water in the central cup all the time.
Growing from a Bromeliad pup
Division – The Bromeliad pups are the offsets of the plant. They can grow at anytime and mostly it occurs after the plant blooms. The pups should not be left attached to their mother plant as they can easily mature. It is safe to remove the Bromeliad pups when they are 1/3 or ½ the mother plant size. The pup does not need a root formation to survive. You should cut the grown pup as close to its mother plant using a sterilised knife or scissors. The cut pup has to be dipped in a fungicide and rooting hormone. You can pot in a 4” small pot and the soil has to be light and a well draining one. You should plant it top heavy. You can use wooden sticks to hold the plant up until it develops a root system.
Growing Bromeliads from seeds
The seeds need light, warmth and medium dampness. You should grow the Bromeliad seeds in a small container that is covered until the seed germinates. The centre of the container is cut and plastic is placed over the container. The container has to be half filled with germinating medium. Once the seeds are sown, you should place the container in a warm place where there is light, but no direct sunlight. You should wait till the seeds have developed small leaves then transplant seedlings into seed trays. After 6 months pot them into equal parts of a quality potting mix and orchid mix for good drainage.